
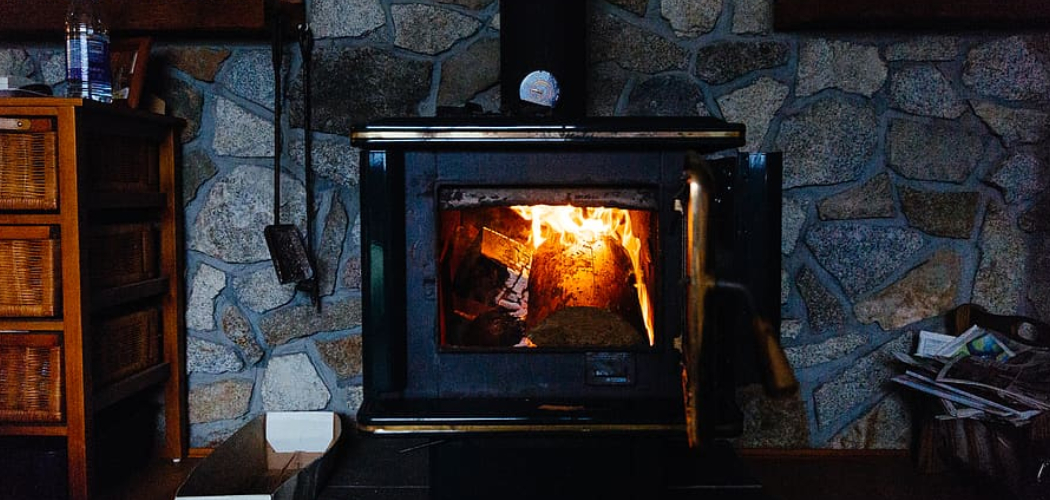
Your wood stove still throws great heat, but the finish tells a different story. Rust spots. Faded patches. A dull gray surface that drags down the whole room. The fix is simpler than you think. Learning how to paint a wood stove gives you a fresh, factory-clean look for the cost of one spray can and an afternoon of work.
You don’t need a workshop or years of experience. You need the right heat-resistant paint, a clean surface, and a steady hand. Done correctly, the new finish withstands temperatures past 1,000°F without bubbling, peeling, or smoking after the first cure.
This guide walks you through every step — from stripping rust to curing the final coat — so your cast iron or steel stove looks new and stays protected for years.
Why Painting Your Wood Stove Matters
A worn stove costs you more than looks. Bare metal rusts. Rust spreads. Left alone, it eats into the body and shortens the life of a unit you paid hundreds to install.
Painting stops that decay. High-heat paint seals the metal, blocks moisture, and protects against corrosion through every burn season. You extend the stove’s life by years for under $20 in materials.
You also save the cost of a professional refinish, which runs $150 or more. Do it yourself and you keep that money.
The bigger win is confidence. This project teaches you surface prep, coating, and curing — skills that carry over to railings, grills, and tools. Master one heat-resistant finish, and you’ve learned a technique you’ll use again and again.
Tools and Materials You’ll Need
Gather everything before you start. Stopping mid-project to find a missing item leaves dust on a wet coat.
- High-heat stove paint rated to at least 1,200°F (spray or brush-on)
- Wire brush to strip rust and loose paint
- 120- and 220-grit sandpaper for smoothing the surface
- Painter’s tape to mask handles, glass, and gaskets
- Drop cloth or cardboard to protect floors
- Tack cloth to lift fine dust before painting
- Degreaser or denatured alcohol to clean the metal
- Nitrile gloves and a respirator mask rated for paint fumes
- Safety glasses to shield against rust flakes
- Heat gun or orbital sander (optional) — speeds up stripping on heavily rusted stoves
That optional sander cuts your prep time in half on a badly weathered cast iron stove. Skip it only if your surface is lightly worn.
Step-by-Step Guide on How to Paint a Wood Stove
Step 1 – Set Up a Safe, Ventilated Workspace
Cold stove only. Never paint a unit that’s even slightly warm. Wait at least 24 hours after the last fire so the metal is fully cool to the touch.
Move the stove outdoors or open every window and door if you can’t. High-heat paint releases strong fumes, and you’ll smell the sharp chemical odor the moment you spray. A respirator and cross-breeze keep that out of your lungs.
Lay down a drop cloth or flattened cardboard under and around the stove. Overspray drifts farther than you’d expect — a fine mist settles three feet out. Set up good lighting too. You need to spot every rust patch and missed corner, and shadows hide flaws until the paint dries.
Step 2 – Strip Rust and Loose Paint
Grab your wire brush and scrub hard. Work in tight, overlapping strokes across the whole body. You’ll hear a gritty rasp as the bristles bite into rust and old, flaking paint.
Watch the surface change. Loose paint lifts in dry flakes. Rust crumbles to orange-brown powder and falls away. Keep going until you feel smooth, solid metal under the brush instead of rough, bubbled buildup.
For heavy corrosion, switch to an orbital sander with 120-grit. It cuts through stubborn rust far faster than hand brushing. Hit the seams, legs, and door frame — corrosion hides in those tight spots.
Run your gloved hand across the metal when you finish. Any roughness or flaking means you’re not done yet.
Step 3 – Sand the Surface Smooth
Switch to 220-grit sandpaper for the final smoothing pass. Your goal is a uniform, slightly dull surface that gives the paint something to grip.
Sand in steady, even motions across the entire stove. The metal should feel consistent under your fingertips — no glossy patches, no rough ridges. Glossy spots mean paint won’t bond there, so dull them down completely.
Pay attention to how the surface looks under your work light. A properly sanded stove shows a soft, matte sheen with no shiny streaks. If you still see slick areas reflecting the light, keep sanding.
This step decides how well your finish holds up. Knowing how to paint a wood stove that lasts comes down to prep — and sanding is where the bond begins.
Step 4 – Clean Off All Dust and Grease
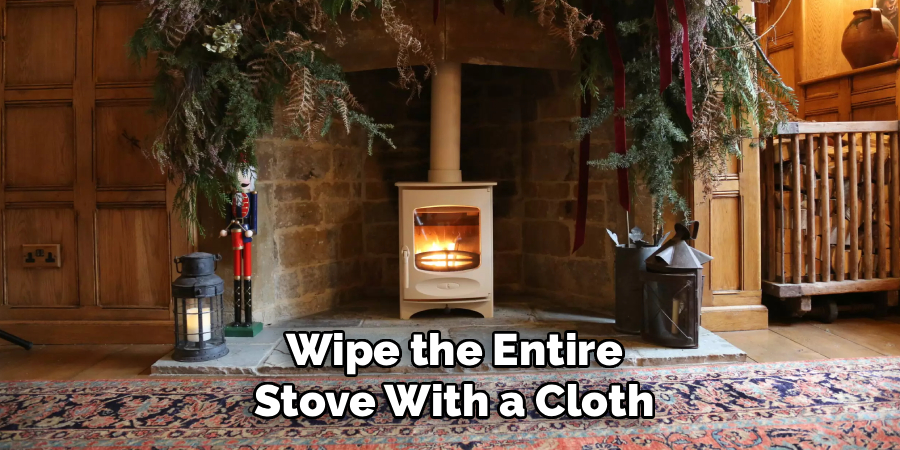
A clean surface is the difference between a finish that sticks and one that flakes off in a month. Wipe the entire stove with a cloth dampened in degreaser or denatured alcohol.
You’re removing every trace of oil, soot, and fingerprint residue. Skin oils alone can cause paint to fish-eye and pull away as it dries. Work top to bottom so drips fall onto unclean areas you haven’t reached yet.
Follow up with a tack cloth to lift fine sanding dust. Drag it lightly across the metal and you’ll feel it grab the last particles. The surface should look clean and feel completely dry before you move on. Let it air-dry for ten minutes.
Step 5 – Mask Off Areas You Don’t Want Painted
Protect anything that shouldn’t get coated. Press painter’s tape over the door gasket, glass window, handles, and any maker’s badge you want to keep visible.
Burnish each tape edge down hard with your fingernail. A loose edge lets paint creep underneath and leaves a ragged, blurred line you’ll see every time you look at the stove. A tight seal gives you a crisp, clean border.
Cover the glass fully with tape or paper. Overspray on glass is a pain to scrape off later, and aggressive scraping scratches it. Take five extra minutes here. Sharp masking separates a clean, professional finish from a sloppy DIY job that screams amateur.
Step 6 – Apply the First Thin Coat
Shake your high-heat paint can hard for a full minute. You’ll hear the mixing ball rattle freely when it’s ready. Hold the can 10 to 12 inches from the surface.
Spray in light, sweeping passes. Keep the can moving the entire time — pausing in one spot pools the paint into runs and drips. The first coat should look thin, almost see-through. Resist the urge to cover everything at once.
Listen for the steady hiss of an even spray. Watch the surface take on a faint, uniform tint. Thin coats bond tighter and cure harder than one thick layer. A heavy first coat sags, wrinkles, and traps solvent that bubbles up later during the first fire.
Step 7 – Add Additional Coats
Let the first coat dry to the touch — usually 30 minutes, though check your can’s label. The surface turns from glossy-wet to a flat, dry finish when it’s ready for the next pass.
Apply your second coat using the same light, sweeping motion. Cross your direction this time: if the first coat went side to side, run this one top to bottom. That overlap fills any thin spots and builds even color.
Most stoves need two to three coats for full, solid coverage. Step back and check under your work light between layers. Patchy areas or visible metal mean you need another pass. The finished surface should read as one consistent, deep color with no streaks or shadows.
Step 8 – Cure the Paint With Heat
Drying isn’t curing. Air-drying sets the surface, but high-heat paint only hardens fully when you bake it. Skip this and the finish stays soft and smells for weeks.
Remove all masking tape first, while the paint is dry but the stove is still cool. Pull each strip slowly at a low angle for clean edges.
Now build a small fire. Keep it low for the first 30 minutes, then medium for another 30, then let it burn normally. You’ll smell strong fumes and see faint smoke rise off the stove — that’s the paint curing, and it’s normal. Ventilate the room well. After this first cure, the finish locks in hard and the odor disappears for good.
Common Mistakes to Avoid
The biggest mistake is skipping surface prep. Painting over rust or grease guarantees failure. The new coat can’t bond to a dirty surface, so it bubbles and peels within weeks. Strip, sand, and clean every time — no shortcuts.
The second mistake is using the wrong paint. Regular spray paint isn’t built for heat. It burns, smokes, and releases toxic fumes the first time you fire the stove. Only use paint rated for at least 1,200°F. Check the label before you buy, not after.
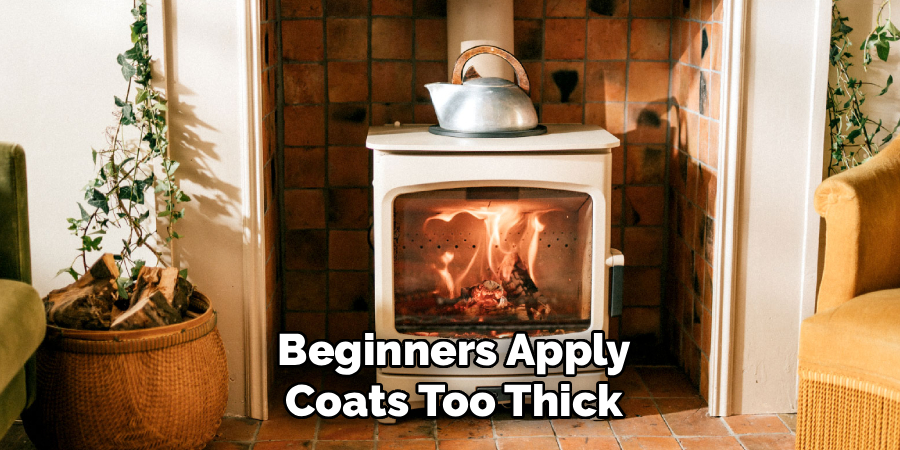
Third, beginners apply coats too thick. One heavy layer looks faster, but it sags, wrinkles, and traps solvent that bubbles up during curing. Two or three thin coats always beat one thick one. Patience here saves a full redo.
Fourth is painting a warm stove. Heat-resistant paint needs to grip cool metal. Apply it to a warm surface and it flashes off unevenly, leaving blotchy texture you can’t fix without stripping.
Finally, many people skip the heat cure entirely. They air-dry the paint and call it done. Without baking, the finish stays soft, marks easily, and smells for months. The cure isn’t optional — it’s what makes the coating permanent.
Expert Tips
Tint your second coat slightly darker than your first if you want depth. The shift catches light and gives cast iron a richer, dimensional look that flat single-color jobs miss.
Warm your spray can in a bucket of hot tap water for five minutes before painting. Warm paint atomizes finer and lays down smoother — a trick pros use on cold-weather jobs to avoid grainy texture.
Test your paint on a hidden spot first, like the back lower edge. You’ll confirm the color and spray pattern before committing to the visible front.
Keep that first cure fire low and slow. Rushing to a hot blaze cures the outer layer before the underlayers harden, which cracks the finish. Build heat in stages and the entire coating sets evenly, top to bottom.
Frequently Asked Questions
What Kind of Paint Should I Use on a Wood Stove?
Use high-heat stove paint rated to at least 1,200°F. Standard paint burns, smokes, and releases harmful fumes the moment the stove heats up. Heat-resistant coatings are made to bond with metal and survive repeated burn cycles without peeling. You’ll find them in spray cans or brush-on form at most hardware stores, usually in matte black or charcoal finishes.
Do I Have to Remove All the Old Paint First?
No, you don’t need bare metal everywhere. Remove only loose, flaking, or bubbled paint with a wire brush or sander. Sound, well-adhered paint can stay — just scuff it with 220-grit so the new coat grips. What matters most is a clean, dust-free, grease-free surface. The new finish bonds to solid paint just fine, but never over rust or loose patches.
How Long Does It Take to Paint a Wood Stove?
Plan for one afternoon plus cure time. Prep takes the longest — stripping, sanding, and cleaning run about two hours on an average stove. Painting two or three thin coats adds another hour with drying time between. The heat cure takes roughly 90 minutes of staged burning. Budget a full day total, and don’t fire the stove normally until the cure is complete.
Why Is My Wood Stove Paint Smoking?
Smoking after fresh paint is normal during the first cure. The heat burns off solvents in the coating, releasing fumes and faint smoke. It’s expected and disappears once curing finishes. Open windows and run a fan to clear the air. If smoking continues after several full burns, you likely applied the coats too thick — strip and redo with thinner layers.
Can I Paint a Cast Iron Stove the Same Way?
Yes, the process is identical for cast iron and steel. Cast iron holds rust in its textured surface, so spend extra time wire-brushing the pits and seams during prep. Use the same high-heat paint and the same thin-coat method. Cast iron’s rougher texture actually grips paint well, giving you a durable finish once you’ve cleaned out every trace of rust and debris.
Conclusion
A worn stove doesn’t mean a worn-out stove. With the right prep, the right paint, and a careful cure, you turn a rusty, faded unit into a centerpiece that looks factory-fresh. The whole job costs less than $20 and takes a single day.
Remember the order that makes it last: strip the rust, sand it smooth, clean every speck of grease, mask your edges, and build thin coats instead of thick ones. Then cure the finish with a slow, staged fire so the coating hardens for good. Skip any step and you’ll be redoing it next season.
Now that you know how to paint a wood stove the right way, you have a skill that protects your investment and sharpens your eye for surface work. Tackle this project once and you’ll never look at a rusty railing, grill, or tool the same way again. Grab your wire brush, pick up a can of high-heat paint, and give your stove the finish it deserves.
