
Old wood walls hold history. They also hold decades of grime, smoke residue, and grease that dull their natural beauty. If you’ve ever run your hand across vintage wood paneling and felt a sticky film, you know the problem. The good news? You can fix it without stripping the finish or hiring a pro. Learning how to clean wood walls in old houses gives you the power to restore aged wood surfaces with simple tools and a careful approach.
Done right, the grain comes alive again and the room feels warmer. Done wrong, you risk water stains, swelling, or a ruined finish. This guide walks you through the exact process — from testing the surface to protecting it afterward — so your antique wood looks its best for years.
Why Cleaning Old Wood Walls Matters
Neglected wood walls don’t just look tired. They deteriorate. Dirt buildup traps moisture against the surface, and over time that moisture breaks down shellac, varnish, and old finishes. Once the finish fails, the wood underneath is exposed to rot, splitting, and permanent staining.
Cleaning protects your investment. A proper wash removes the grime that grinds into the wood grain and accelerates wear. You extend the life of the paneling and avoid expensive refinishing or replacement.
You also save money. Professional restoration runs into the hundreds or thousands. A careful DIY cleaning costs a fraction of that.
Most important, you build confidence. Master this skill and you’ll handle furniture, trim, and floors with the same steady hand.
Tools and Materials You’ll Need
Gather everything before you start. Stopping mid-job to find a clean rag leads to streaks and mistakes.
- Two soft microfiber cloths — one for cleaning, one for drying
- A bucket of warm water — never hot, which can soften old finishes
- Murphy Oil Soap or a pH-neutral wood cleaner — gentle on aged wood surfaces
- A soft-bristle brush or vacuum with a brush attachment — for loose dust
- Mineral spirits — for stubborn grease and smoke residue
- Cotton swabs and a small detail brush — for carved trim and corners
- Painter’s tape and a drop cloth — to protect floors and adjacent surfaces
- Clean, dry towels — for blotting excess moisture
- A pair of nitrile gloves — to protect your hands from cleaners
- A wood polish or paste wax (optional) — for a protective finish once the wall dries
Step-by-Step Guide on How To Clean Wood Walls In Old Houses
Step 1 – Identify The Finish
Start by figuring out what’s on the wood. Old houses hide shellac, varnish, lacquer, paint, or bare wood under decades of buildup. Each reacts differently to cleaners.
Dab a hidden corner with denatured alcohol on a cotton swab. If the finish gets sticky or dissolves, it’s shellac. If alcohol does nothing but mineral spirits soften it, you’re likely dealing with varnish or lacquer.
Painted wood walls feel smooth and uniform, while bare wood absorbs water quickly. Knowing this protects you. Use water-heavy methods on shellac and you’ll cloud it instantly.
Take your time here. This single test shapes every choice you make next.
Step 2 – Dust The Surface Thoroughly
Wet cleaning over loose dust creates mud. So dry it first. Run a soft-bristle brush or a vacuum with a brush attachment across the entire wall, top to bottom.
Pay attention to grooves, carved details, and the tops of trim where dust settles thickest. You’ll hear the bristles catch in textured areas — that’s the grit you want gone.
Wipe with a dry microfiber cloth afterward. The cloth should glide smoothly. If it drags or picks up fuzz, you’ve missed a spot.
This step feels minor, but skipping it scratches the finish. Loose particles act like sandpaper the moment you add moisture and pressure.
Step 3 – Test Your Cleaner First
Never trust a cleaner on the whole wall before testing. Mix a small amount of pH-neutral wood cleaner or oil soap with warm water, following the label dilution.
Find an inconspicuous spot — behind a door or low in a corner. Apply the solution with a damp cloth, wait a minute, then wipe and dry.
Watch closely. The finish should stay intact, with no whitening, dulling, or color lift. If the wood grain darkens evenly and returns to normal as it dries, you’re good.
If the surface clouds or feels tacky, stop. Switch to a drier method. This is the heart of how to clean wood walls in old houses without causing damage you can’t undo.
Step 4 – Wash In Small Sections
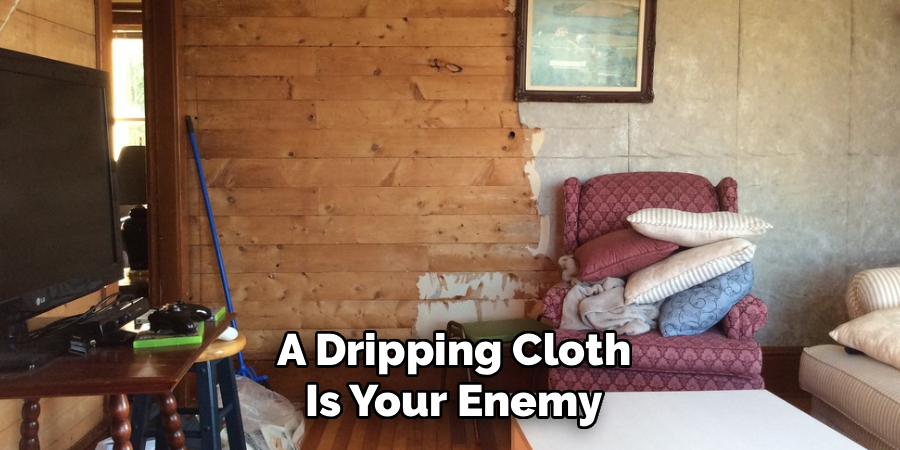
Work in sections about three feet wide. Dampen your microfiber cloth in the cleaning solution and wring it until it’s barely wet. A dripping cloth is your enemy here.
Wipe along the wood grain, not against it. You’ll feel the grime lift and the cloth glide more freely as the surface cleans. Watch the water — it’ll turn brown fast on neglected walls.
Rinse your cloth often and re-wring. Move from bottom to top to avoid dirty streaks running down clean wood.
Controlling moisture is everything when you clean wood walls in old houses. Too much water swells joints and lifts veneers, so keep that cloth damp, never soaked.
Step 5 – Tackle Grease And Smoke Residue
Kitchens and old fireplaces leave a stubborn film that water alone won’t budge. You’ll feel it as a slick, sticky coating that resists your cloth.
Dampen a fresh cloth with mineral spirits and test it on your hidden spot first. Then wipe the greasy areas gently. The residue will dissolve and transfer to the cloth, leaving the wood grain visible again.
Work in a well-ventilated room and keep the windows open. The sharp smell fades as it dries.
For carved trim and tight corners, dip a cotton swab or detail brush in mineral spirits. You’ll reach the grime that flat cloths miss, restoring crisp lines to antique wood.
Step 6 – Rinse And Dry Immediately
Cleaner left on the surface attracts dirt and dulls the finish. So rinse it off. Wipe each cleaned section with a fresh cloth dampened in plain warm water.
Then dry right away with a clean, dry microfiber towel. Don’t let water sit. On aged wood surfaces, standing moisture causes white rings, raised grain, and cloudy patches within minutes.
Press firmly enough to absorb moisture but follow the grain to avoid streaks. The wood should look evenly matte when dry, not blotchy.
Run your hand across it. A clean, dry wall feels smooth and slightly cool — never tacky or damp. Move to the next section only after this one is fully dry.
Step 7 – Inspect For Missed Spots
Step back and study the wall under good light. Angle a lamp or open the curtains so light rakes across the surface. Grime and streaks show up clearly this way.
Look for dull patches, smudges, and shiny grease spots you skipped. Old wood paneling often hides buildup in recessed panels and along baseboards.
Touch suspect areas. Sticky or rough spots need another gentle pass. Re-clean only those sections rather than rewetting the whole wall.
Catching missed spots now saves frustration later. Once you apply polish or wax over hidden grime, you seal the dirt in and create a patchy, uneven look.
Step 8 – Apply A Protective Finish
Dry, clean wood drinks in protection. Once the wall is fully dry — wait a few hours to be safe — apply a thin coat of quality wood polish or paste wax.
Use a soft cloth and work a small amount into the grain with circular motions, then buff along the grain. You’ll feel the surface turn silky and watch the color deepen and warm.
Don’t overload it. A thin, even layer beats a thick one that stays gummy and grabs dust.
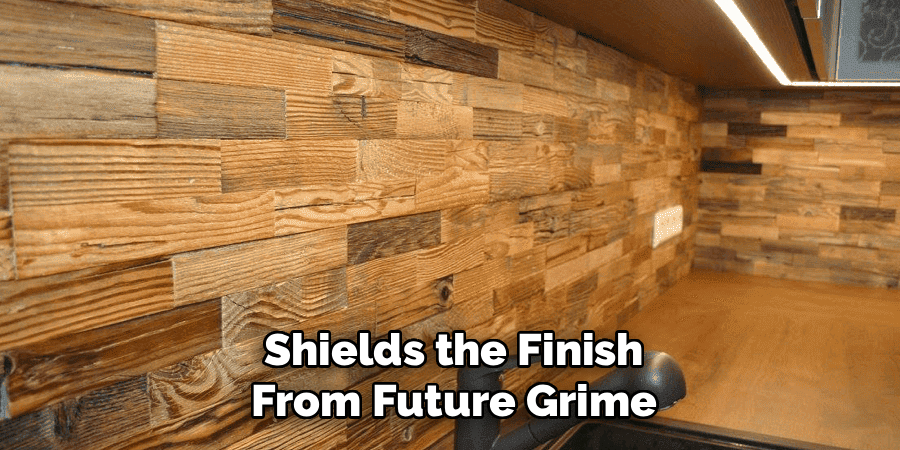
This final step seals your work, adds a soft sheen, and shields the finish from future grime. It’s the difference between wood that looks clean and wood that looks cared for.
Common Mistakes to Avoid
The biggest mistake is using too much water. Old finishes are fragile, and saturated wood swells, splits, and develops white cloudy stains. Always wring your cloth until it’s barely damp, and dry every section right after you clean it. Water is a tool here, not a flood.
Skipping the test patch ranks a close second. Every old house is different, and what works on varnish destroys shellac. A two-minute test in a hidden corner saves you from a wall-sized disaster you can’t reverse.
Reaching for harsh cleaners causes real harm. Ammonia, bleach, and all-purpose sprays strip finishes and bleach the wood grain. Stick with pH-neutral wood cleaners or oil soap designed for aged surfaces.
Cleaning against the grain is another trap. It pushes grime into the pores and leaves visible streaks. Always wipe with the grain, following its natural direction.
Finally, many people rush to polish before the wall dries completely. Trapped moisture under wax turns cloudy and traps dirt. Patience here protects all your hard work and keeps the finish looking even.
Expert Tips
Pros read the wood before they touch it. Run your fingertips across the surface in raking light — you’ll feel grease, raised grain, and old wax that your eyes miss. This tells you exactly where to focus.
Work top to bottom when dusting, then bottom to top when washing. Dust falls down, so you clear it first; dirty water drips down, so you wash upward to stop streaks before they start.
For shellac walls, skip water entirely. A barely-damp cloth with mineral spirits cleans without clouding the finish.
Keep a separate cloth for grease zones. Cross-contaminating clean and greasy rags just spreads the film around. And test any new wood polish on furniture first — old finishes can react in ways you won’t expect.
Frequently Asked Questions
Can I Use Vinegar To Clean Old Wood Walls?
Use vinegar with caution. Diluted heavily — about one tablespoon per quart of water — it cuts light grime on sealed wood. But vinegar is acidic and can dull or etch fragile finishes like shellac and wax over time. For aged wood surfaces, a pH-neutral wood cleaner or oil soap is safer. Always test any solution on a hidden spot before treating the whole wall.
How Often Should I Clean Vintage Wood Paneling?
Dust vintage wood paneling weekly or biweekly to stop grit from grinding into the finish. A deeper wash with wood cleaner only needs to happen once or twice a year, or when you notice a sticky film or dull patches. Over-cleaning wears down old finishes faster than dirt does. Light, regular dusting keeps the grain crisp and reduces how often you need a full wash.
Will Cleaning Remove Old Smoke Or Nicotine Stains?
Often, yes. Smoke and nicotine leave a sticky yellow-brown film that mineral spirits or oil soap can dissolve. Work in small sections, wipe gently along the grain, and rinse your cloth often. Deep stains soaked into bare wood may need light sanding or refinishing. But surface residue on a sealed finish usually lifts with patience and the right cleaner, revealing the wood grain underneath.
Is It Safe To Clean Painted Wood Walls The Same Way?
Mostly, but go gentler. Painted wood walls handle a damp cloth with mild, pH-neutral cleaner well. Avoid abrasive pads and harsh chemicals that scratch or dull the paint. Skip the wood polish and wax, which won’t bond to paint. Test a hidden area first, especially on older paint that may contain lead — in that case, wet-clean carefully and never sand without proper precautions.
What Should I Do If The Finish Looks Cloudy After Cleaning?
Cloudiness usually means trapped moisture or a reaction with water. First, let the wall dry fully — many light hazes clear on their own. If it stays cloudy, buff gently with a soft cloth and a little mineral spirits to lift moisture from the finish. For shellac that’s blushed white, a fine application of paste wax often restores clarity. Avoid more water.
Conclusion
Restoring old wood walls comes down to patience and the right method. Identify the finish, dust thoroughly, test your cleaner, and work in small sections with a barely-damp cloth. Tackle grease with mineral spirits, dry every section right away, and seal your work with a thin coat of polish or wax. Each step protects the wood and brings back its natural warmth.
You don’t need expensive tools or a professional to do this well. You need a careful hand and a willingness to go slow. The reward is real — paneling that glows, grain that shows, and a room that feels alive again.
Now that you know how to clean wood walls in old houses, you can tackle the job with confidence and protect that history for years to come. Start with a hidden corner, trust the process, and watch your aged wood surfaces come back to life.
