
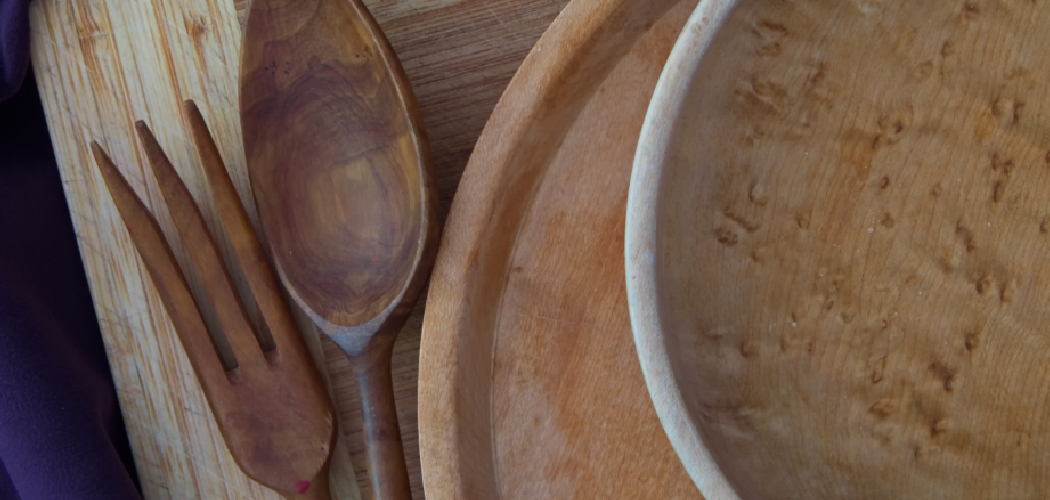
Your favorite wooden spoon doesn’t have to wear out in a year. With the right routine, it lasts decades. Most people ruin wooden utensils not through use, but through cleaning—harsh soaps, hot soaks, and the dishwasher all strip the wood and crack the grain. Learning how to clean wooden kitchen utensils naturally fixes that. You skip the chemicals, protect the fibers, and keep your tools food-safe.
Natural cleaning costs almost nothing. You already own most of what you need: baking soda, lemon, salt, and a food-safe oil. No special products required. This guide walks you through every step, from a quick daily rinse to deep cleaning and conditioning, so your spoons, spatulas, and cutting boards stay smooth, sealed, and ready to work.
Why Cleaning Wooden Kitchen Utensils Naturally Matters
Wood is porous. It absorbs water, oil, and odor. Treat it wrong and it splits, warps, or grows bacteria in the cracks. Clean it right and a single spoon outlasts ten plastic ones.
Natural cleaning saves you money on three fronts. You stop replacing damaged tools. You stop buying specialty cleaners. And you protect cutting boards that often cost more than your knives.
You also avoid harsh chemicals near your food. Bleach and strong detergents soak into the grain and never fully rinse out. Lemon, salt, and baking soda clean just as well without the residue.
Best of all, you build confidence. Once you understand how wood reacts to water and oil, maintenance takes minutes. You stop guessing and start caring for your tools like a pro.
Tools and Materials You’ll Need
Gather these before you start. Most live in your pantry already.
- Baking soda — lifts stains and neutralizes odors
- Coarse salt — scrubs stuck-on residue without scratching
- Fresh lemon — cuts grease and disinfects naturally
- White vinegar — sanitizes and removes lingering smells
- Food-safe oil — conditions and seals the grain (mineral oil, coconut, or fractionated walnut oil)
- Soft sponge or dishcloth — for everyday washing
- Clean, dry towels — for immediate drying
- Small bowl — for mixing baking soda paste
- Fine-grit sandpaper (220+) — optional, for smoothing rough or raised grain
One optional upgrade: a dedicated board cream or beeswax-and-oil blend. It seals deeper than oil alone and makes conditioning faster.
Step-by-Step Guide on How to Clean Wooden Kitchen Utensils Naturally
Step 1 – Rinse Immediately After Each Use
Speed matters. The longer food sits on wood, the deeper it sinks into the grain. Rinse your spoon or spatula under warm running water within minutes of cooking.
Use your fingers or a soft sponge to push off any clinging bits. Skip the soak. Wood left sitting in a sink full of water swells, then cracks as it dries unevenly.
You’ll know you’re doing it right when the surface feels clean and the water runs clear. If the wood looks darker or feels spongy, you’ve let it sit too long. A quick rinse is the simplest part of how to clean wooden kitchen utensils naturally, and it prevents most long-term damage.
Step 2 – Wash With Mild Soap and Warm Water
For everyday grime, a small drop of mild dish soap works fine. Wet your sponge, add the soap, and wipe along the grain—not against it. Working with the grain keeps fibers smooth and prevents fuzzing.
Keep the water warm, never scalding. Hot water opens the wood’s pores and pulls out natural oils, leaving the surface dry and pale.
Rinse quickly and thoroughly. Lingering soap soaks in and can taste bitter on your next meal. You’ll hear a faint squeak when the spoon is properly clean—that’s the sound of a residue-free surface. If it feels slick or slippery, rinse again until that film disappears completely.
Step 3 – Remove Stains With a Baking Soda Paste
Tomato sauce, turmeric, and berries leave stubborn marks. Baking soda lifts them without bleach. Mix one tablespoon of baking soda with a few drops of water until you get a thick, spreadable paste.
Rub the paste onto the stain with your fingers or a soft cloth. Use small circles and gentle pressure. You’ll feel slight grit as the soda works—that texture is doing the scrubbing.
Let it sit for two to three minutes, then rinse. The stain should fade to a soft shadow or vanish completely. Deep stains may need a second round. Knowing how to clean wooden kitchen utensils naturally means reaching for baking soda before anything harsh.
Step 4 – Sanitize With a Lemon and Salt Scrub
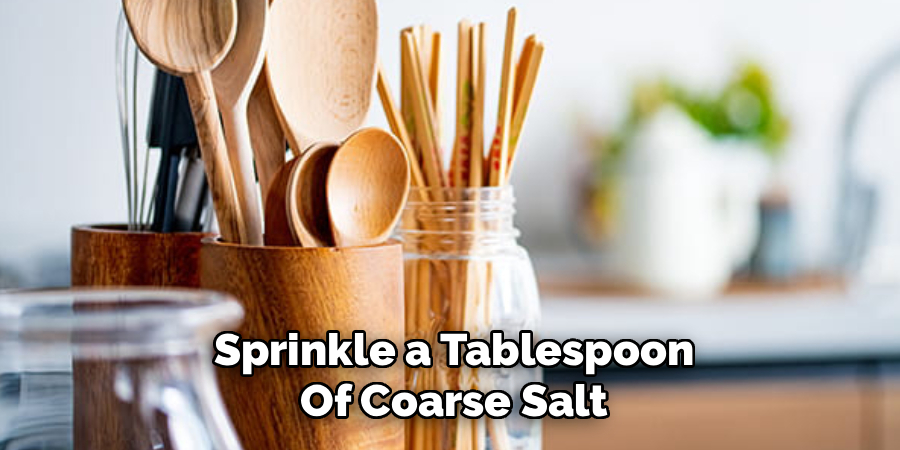
Wood holds odors—garlic, onion, fish. A lemon-and-salt scrub erases them and kills surface bacteria. Sprinkle a tablespoon of coarse salt over the utensil. Then cut a lemon in half and rub the cut side directly over the salt.
The salt acts as an abrasive while the lemon’s acid disinfects. You’ll see the salt turn slightly yellow and pick up food residue as you scrub. The smell shifts from stale to bright and citrusy.
Work the mixture along the grain for thirty seconds. Then rinse under warm water. This combo is gentle enough for daily use and strong enough for cutting board maintenance after raw meat prep.
Step 5 – Tackle Deep Odors With Vinegar
When lemon isn’t enough, white vinegar finishes the job. Vinegar’s acidity neutralizes deep-set smells and sanitizes the surface without leaving a chemical aftertaste.
Mix equal parts vinegar and water in a bowl. Dip a clean cloth in the solution and wipe down the entire utensil. For strong odors, let the vinegar sit on the surface for one minute before wiping.
The sharp vinegar smell fades fast as it dries—don’t worry, it won’t linger on your food. Rinse lightly with water afterward. You’ll notice the wood looks slightly matte and feels dry to the touch. That’s your cue to move to drying and conditioning next.
Step 6 – Dry Thoroughly and Correctly
Trapped moisture is wood’s biggest enemy. After washing, pat the utensil dry with a clean towel right away. Don’t let it air-dry flat in a puddle.
Stand spoons and spatulas upright in a jar or lay them across a rack so air circulates on all sides. Drying evenly prevents warping and cracking.
Give them a few hours before storing. The wood should feel completely dry and look slightly lighter in color. If you spot dark patches or feel any dampness, keep drying. Putting a wet utensil in a closed drawer invites mildew and that musty smell you worked hard to remove.
Step 7 – Condition the Wood With Food-Safe Oil
Clean wood needs oil to stay sealed. Once your utensil is bone-dry, pour a small amount of food-safe oil onto a clean cloth. Mineral oil, coconut oil, or fractionated walnut oil all work well.
Rub the oil into the surface, following the grain. Watch the wood drink it in—dry, pale spots darken and turn rich as they absorb. That color change tells you the wood needed it.
Apply a thin, even coat across the whole tool. Let it soak in for several hours, or overnight for thirsty pieces. Wipe off any excess so the surface feels smooth, not greasy. Regular wood conditioning keeps fibers flexible and water-resistant.
Step 8 – Smooth Raised Grain When Needed
Over time, water lifts the wood fibers and the surface turns rough or fuzzy. You’ll feel it drag against your hand. Fix it with a light sanding.
Use fine-grit sandpaper, 220 or higher. Sand gently along the grain in long, even strokes. Stop the moment the surface feels smooth again—you’re polishing, not reshaping.
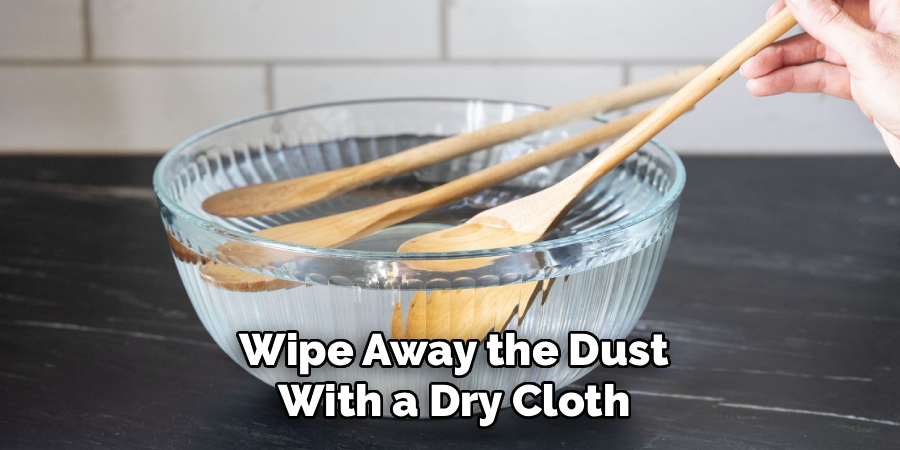
Wipe away the dust with a dry cloth. The wood will look slightly lighter and feel like new. Always re-oil after sanding, since you’ve removed the protective top layer. This step isn’t needed every wash, but doing it once or twice a year keeps spoons and boards silky.
Common Mistakes to Avoid
The biggest mistake is the dishwasher. The heat, prolonged moisture, and harsh detergent destroy wood faster than anything else. One cycle can crack a spoon that would have lasted years. Always hand-wash.
Soaking is the next offender. Leaving utensils submerged—even for twenty minutes—lets water flood the grain. The wood swells, then splits as it dries. Rinse and wash quickly instead of letting things sit in the sink.
Many people skip conditioning entirely. They clean their tools but never re-oil them. Without that seal, the wood dries out, turns gray, and grows brittle. A monthly oil treatment is the difference between a spoon that lasts and one that snaps.
Using harsh chemicals is another error. Bleach and strong degreasers soak into the porous surface and never fully rinse away. They also dry the wood and break down its natural fibers. Stick to baking soda, lemon, salt, and vinegar.
Finally, don’t store utensils wet. Trapped dampness in a closed drawer breeds mildew and that sour, musty smell. Dry every piece completely before putting it away.
Expert Tips
Warm your oil before conditioning. Slightly heated oil penetrates deeper and seals faster than cold oil straight from the bottle. Set the container in warm water for a few minutes first.
Apply oil to brand-new utensils before their first use. Factory-finished wood is often dry. A pre-soak in food-safe oil builds protection from day one and prevents early staining.
Choose your oil wisely. Avoid olive or vegetable oils—they go rancid and turn sticky. Mineral oil never spoils. Fractionated coconut and walnut oils stay stable, too.
Keep a “spoon spa” jar with an oil-soaked cloth inside. A quick wipe after each deep clean takes seconds and keeps tools sealed between full treatments. Small, consistent care beats occasional heavy maintenance every time.
Frequently Asked Questions
How Often Should I Oil My Wooden Utensils?
Oil your wooden utensils once a month with regular use, or whenever the wood looks dull and dry. High-use pieces like everyday spoons may need it every two weeks. The simple test: drip a little water on the surface. If it soaks in instead of beading up, the wood is thirsty and ready for a fresh coat of food-safe oil.
Can I Use Dish Soap on Wooden Spoons?
Yes, but use it sparingly. A small drop of mild dish soap with warm water is fine for everyday washing. Wipe along the grain and rinse quickly so soap doesn’t soak in. Avoid heavy degreasers and never soak the wood. The goal is a fast clean that lifts grease without stripping the natural oils that keep your spoon sealed.
Why Did My Wooden Spoon Crack?
Cracking almost always comes from water and heat. Dishwashers, hot soaks, and air-drying in puddles cause the wood to swell and shrink unevenly until it splits. Skipping oil makes it worse, since dry wood turns brittle. Prevent cracks by hand-washing, drying immediately, and conditioning with food-safe oil regularly. A well-maintained spoon resists cracking for many years.
Is Vinegar Safe for Wooden Cutting Boards?
Yes. White vinegar is one of the safest natural sanitizers for wooden cutting boards. Mix equal parts vinegar and water, wipe the surface, and rinse lightly. It kills surface bacteria and removes odors without harsh residue. Use it after cutting raw meat or strong-smelling foods. Just don’t soak the board—wipe, rinse, and dry thoroughly to protect the grain.
What Oil Is Best for Conditioning Wooden Utensils?
Food-safe mineral oil is the top choice because it never goes rancid and penetrates deeply. Fractionated coconut oil and walnut oil also work well and stay stable. Avoid olive, vegetable, or other cooking oils—they spoil, turn sticky, and leave an unpleasant smell. For extra protection, use a beeswax-and-oil board cream that seals the surface longer than oil alone.
Conclusion
Wooden utensils reward good habits. Rinse fast, wash gently, dry completely, and condition often—that’s the whole routine. Skip the dishwasher, skip long soaks, and skip harsh chemicals. Reach for baking soda, lemon, salt, and vinegar instead.
The payoff is real. You save money by replacing tools less often. You keep chemicals away from your food. And you turn a basic chore into a quick, confident routine that protects every spoon, spatula, and cutting board in your kitchen.
Start today. Pick your most-used wooden spoon, give it a deep clean, and finish with a coat of food-safe oil. You’ll feel the difference the moment you pick it up—smooth, sealed, and ready to work.
Now that you know how to clean wooden kitchen utensils naturally, your tools will last for years instead of months. Build the habit, and your wood will repay you with a lifetime of service.
